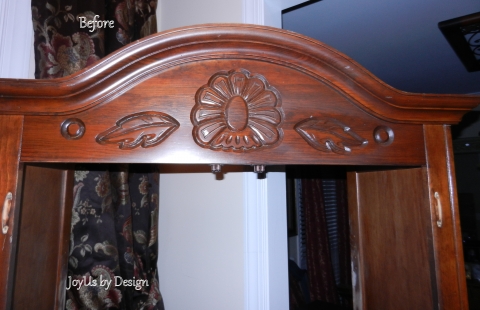
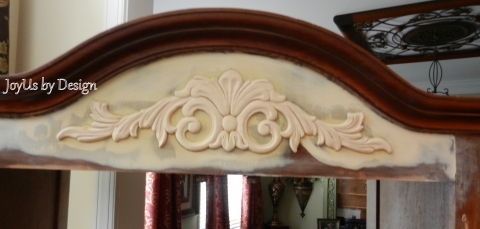
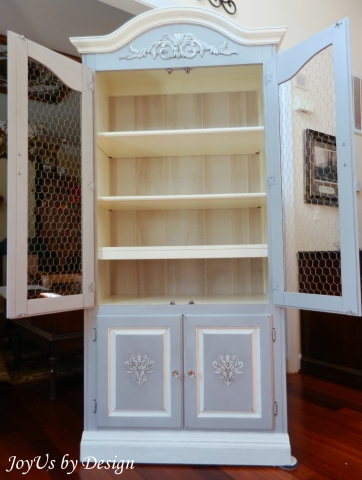
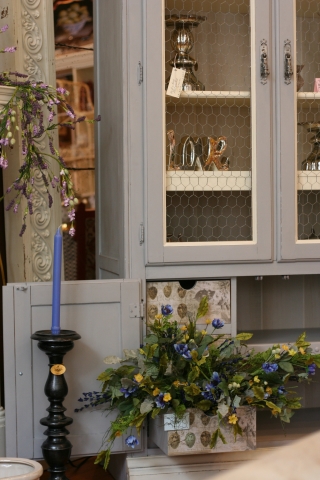
Armoires seem to be in abundance these days. Unfortunately, many of them are quite dated with big floral patterns that no longer fit with most decors. To attack this problem, I filled in the carving with wood filler. Once the area was smooth, I sanded and primed the area in preparation for a new wood appliqué. The appliqué was glued onto the piece using wood glue and clamps. The piece quickly began taking on a whole new look.
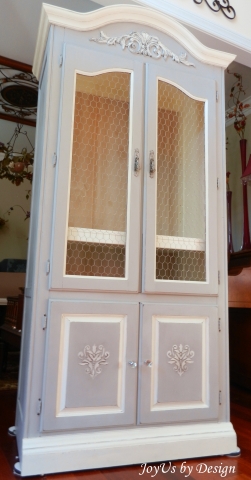
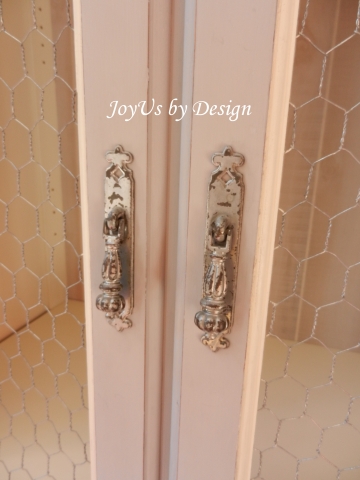
We decided to remove the wood paneling from the doors and install chicken wire. This would allow the customer to use it as a display in a bathroom, kitchen, bedroom, etc. With the new wood appliqué in place and the chicken wire installed in the doors, new, but rustic hardware was in order. I scoured the Internet for just the right touch and these were perfect.
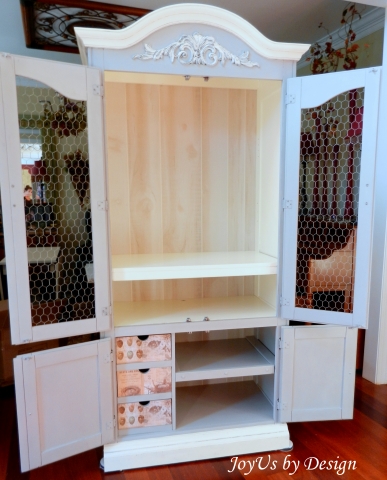
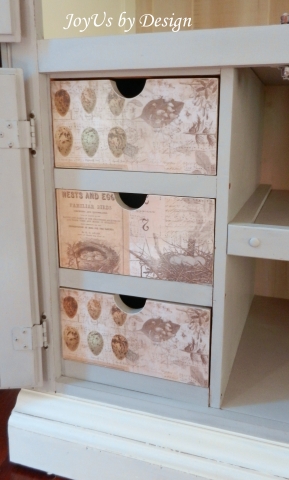
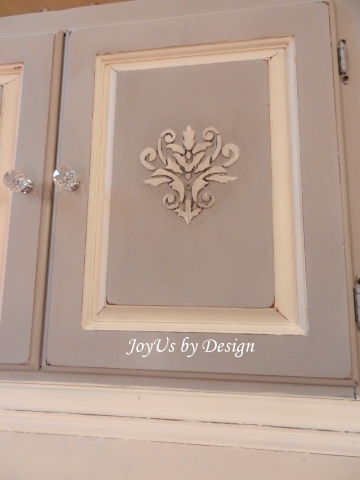
The top half was coming together but the bottom needed some creativity. I applied a raised stencil then glazed it with homemade glaze to bring out the details. On the left side of the cabinet, when you open the lower door, there are three drawers. I’m a believer that drawers always need a little love. I applied decorative paper to the fronts with Mod Podge then sealed them with General Finishes High Performance Topcoat in Flat. Lastly, a new backing was needed to finish the look. We installed a wide bead-board type backing that would bring the inner cabinet to life.
This beauty is painted with Annie Sloan Chalk Paint in Paris Grey and Old White on the trim. The shelves inside the cabinet were top coated using General Finishes High Performance Topcoat in Satin. I love the way the GF Topcoat makes everything shine. Just stunning.


