Pie Safe Makevoer
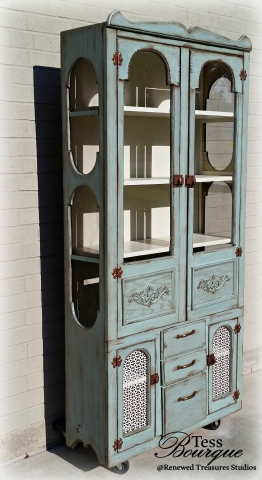
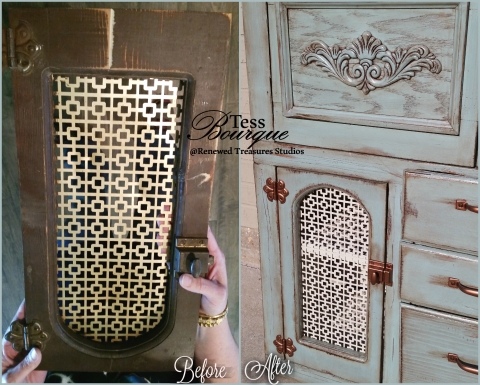
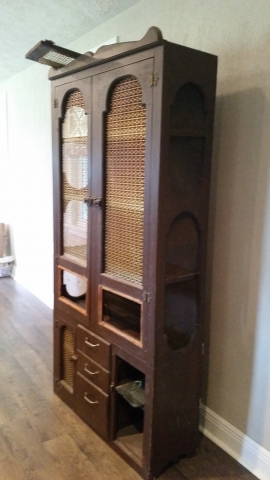
We took this beaten up pie safe and came up with a game plan to make her more functional and give her some more detail. The metal sheets that were in the top door originally were taking away from her character and making the piece looked closed off and uninviting.
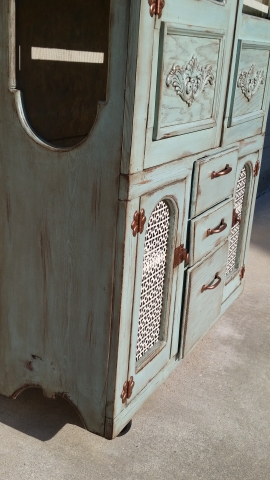
So we started off by cleaning the entire piece it had sat up for so long there was lots of grime and years of dust. We Then went in and fixed all of the cracks and broken pieces by gluing and clamping them overnight. The next day we sanded al of the areas that needed some smoothing and attention. We cut some more support for underneath the shelves and cleaned the wire screen on the sides. We also added a piece of board into both of the bottom holes in the long doors and added scrollwork design followed by some molding for detail.
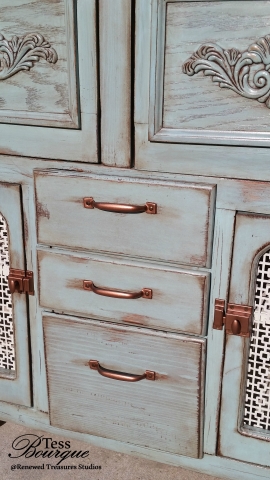
for the exterior color we went with a blue to match another piece of existing furniture in the home. The piece needed to look vintage and worn but up to date at the same time. So we went in and did some heavy distressing after we painted her so that when we added the glazing it would hold into all the distressing to create amazing vintage feel. We then took Antique walnut and made a glaze mixture to put over the blue making all the detail work of the scrolls we added pop on the bottom.
We then needed a contrasting color for the interior so we chose General Finsihes Snow White. The perfect pop of color that we needed so that when we added the glass to the top doors everything that was placed inside would stand out.
The last and final detail was not to be left out. Don't forget your hardware when you refinsh a piece. Your hardware is the fnishing step and also can make or break the appearance of a piece. We took the rusty hardware and used a metallic bronze/ copper mixture we made on all of the hardware that would make a good contrast with the blue we just painted the piece.
We believe our labor of love paid off and we came out with a stunning pie safe for years to cherish


