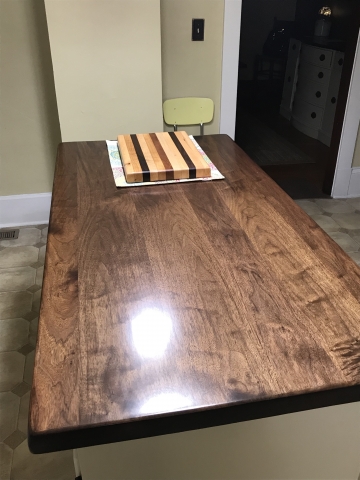
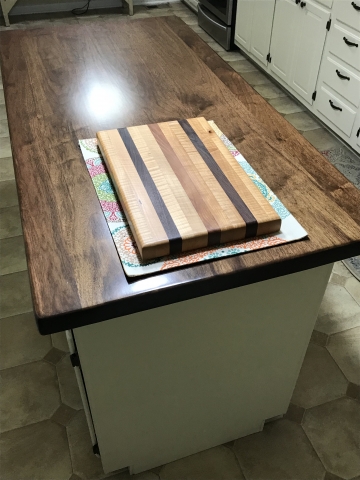
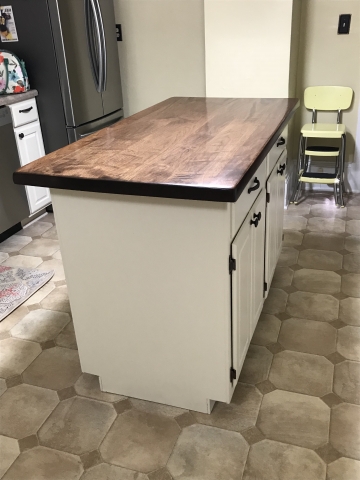
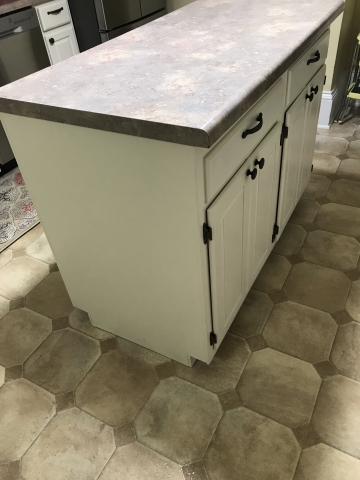
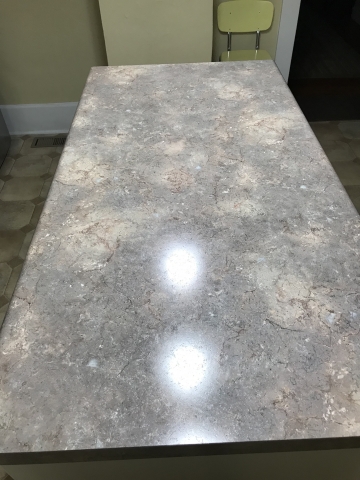
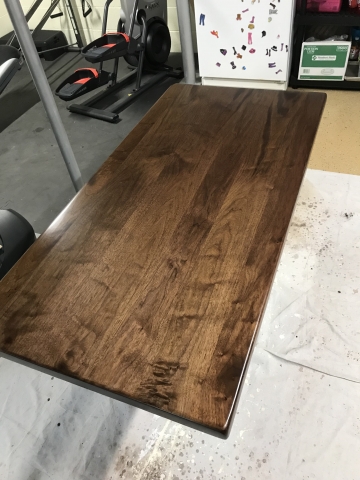
Took an old Formica Island top and replaced it with a black walnut beauty! Started out by laminating 3/4” walnut boards together to finish at 1.5” thickness. Sanded and shaped what little I wanted and then to the finishing phase (phases)! I used a couple of base coats of a homemade concoction of boiled linseed oil, mineral spirits and Arm R Seal in gloss hand wiped onto the walnut. The piece was then lovingly buffed to eliminate any imperfections. Next I put three coats of satin Arm R Seal to fully seal and protect the piece while decreasing the sheen.
This was a labor of love for sure! I initially had finished with pure Tung oil and the piece looked great but had a lot of problems, especially bleed back of the oil. I stripped it down and went over it with java gel stain and did not like that it completely covered my beautiful walnut figuring. What else to do but strip it back down and start over? I did just that! I used HPTC flat on the piece next with a danish oil base and it worked just fine but the HPTC just didn’t look warm enough for me. Given my thirst for perfection and high expectations I was left without choice but to start over yet again! This time I used the homemade mixture followed by the Arm R Seal and knew right away it was right for this piece! I allowed it to cure for about four weeks and then installed it. I think the results speak for themselves!
We will now be making walnut countertops for the rest of the kitchen and am sure I will be using General Finishes products there as well! I have been redoing our bedroom furniture with GF milk paint and High Performance Top Coat but didn’t get it finished in time for the competition due to building my daughter a playhouse for her birthday next week, so maybe next year for that one!


