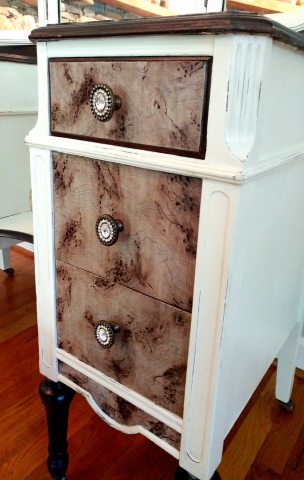
An experiment in technique and patience! The vision was a soft colored piece but with dreamy, fantasy burl wood accents.
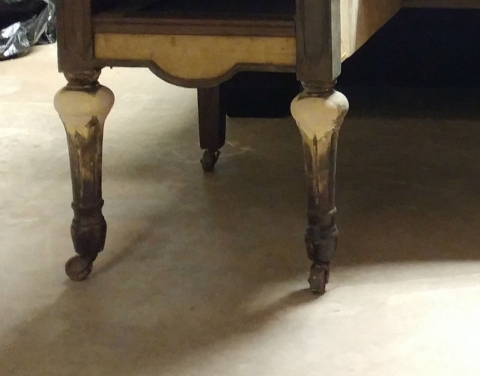
Have you ever felt in over your head? When I got my hands on this gorgeous vanity, she had seen better days. The veneer on the flat surfaces was chipped, peeling and loose. Chunks of the legs were missing. Casters were missing. Some knobs were missing. Not one to shy away from a challenge, I jumped in head first.
If you want to skip the details of the challenges zoom past the bulletted lists.
But, if you want to know the miltitude of TEDIOUS steps read on, Dear Faux Painter.
- The first challenge was the loose and missing veneer. I decided that instead of rescuing it would be better to remove it. Using a heat gun the glue was softened. Then, a metal putty knife was used to peel off the veneer.
- The second challenge was to replicate the missing chunks from the legs. Thankfully, there were enough remaining parts to use as molds. Using hot glue, a mold was created over one of the existing pieces. This was filled with Bondo - YUP, THE STUFF YOU USE TO REPAIR YOUR CAR! - and held in place until soft set. The edges were smoothed and shaped with sandpaper to mimic the missing pieces.
- The third challenge was that Bondo is not stainable. I knew I wanted to keep the legs dark.Even though Bondo is not stainable, it is paintable. Brown and black craft paint was mixed to match the rest of the legs. All of the dark wood surfaces were given a coat of General Finsihes Java Gel Stain and Polycrylic.
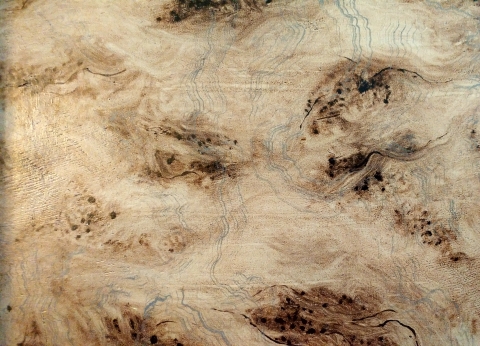
Now the real fun begins. The burl wood technique.
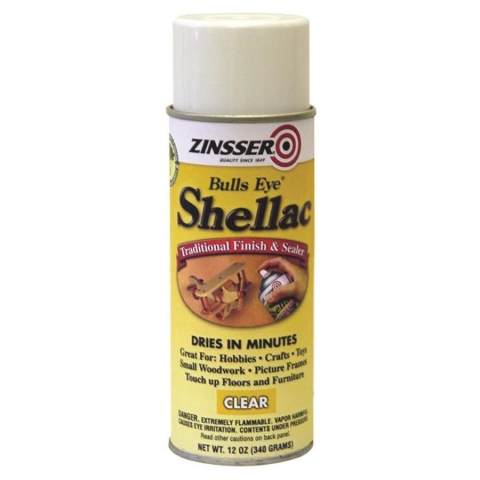
- The entire piece was given a coat of Zinsser Shellac Spray to prevent the red tones of the wood from bleeding through the chalk paint.
- After drying overnight, a beasecoat of Rustoleum Chalked Paint in Linen White was applied to the carcass, the top surfaces and drawer fronts.
- The surfaces which were going to be burled recied a coat of Zinsser Bullseye Shellac. (This isolation coat protects the chalk paint, preventing it from being pulled off and/or damaged in preceeding steps. It also allows water based and oil based produts to be layered without interacting.)
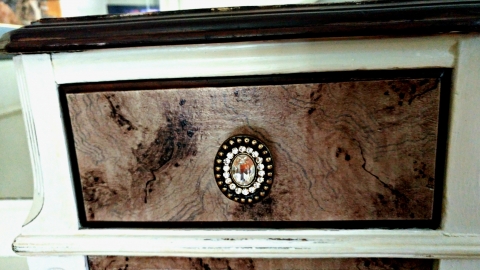
- From there, the artistic freedom took over. I followed the steps at Paul Finkelstien's website to created the burl wood. http://pierrefinkelstein.com/2015/01/16/burl-wood-graining/ However, I used General Finishes Java Gel Stain and Minwax Penetrating Oil Stain in Special Walnut.
- After the oil based stains had dried for 24 hours, I applied another coat of Shellac.
- My "trembly" lines were added using a cut up chip brush and FolkArt Acrylic Paint in Dark gray. The paint was thinned with water to an ink consistency. The fine dots were applied using Java Gel Stain.
- Another isolation coat was applied,allowed to dry, and a light wash of Minwax Penetrating Stain in Red Chestnut. The final step was to apply polycrylic over the burled surfaces.
The drab knobs were replaced with crystal-sprinkled knobs from Hobby Lobby. The chair was simply painted in Linen White chalk paint, polyed and reupholstered.
Whew! That wore me out AGAIN!
I truly lost count of the hours involved in the technique. Between drying time and actual working time, it was days. BUT, the end result? One of the most beautiful pieces I have ever created!


