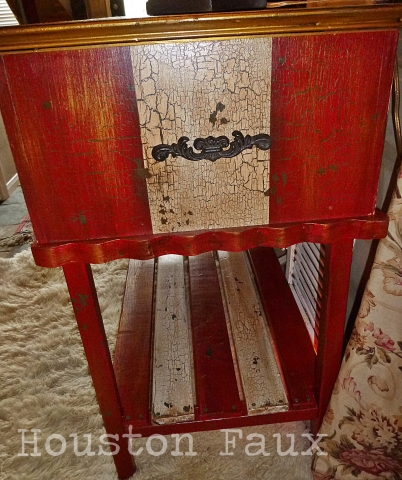
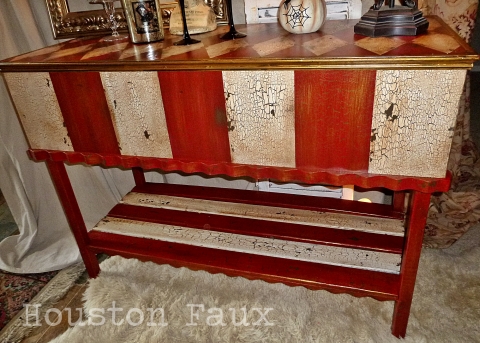
I certainly can't boast to any workworking skills, but this is what I came up with using my makita ladysaw & the drill. It's essentially just a box with some legs & some 1x4's to hold the legs together at the bottom so it doesn't splay out like a baby giraffe.
Simple wood construct, some trim, woodglue, little finishing nails to attach the trim pieces & a descent amount of woodfiller to fix my shanty-town carpentry. Oh.. & my orbital sander bc I can't cut wood worth a crap nor built anything worth a crap so I had to sand everything to even it out.
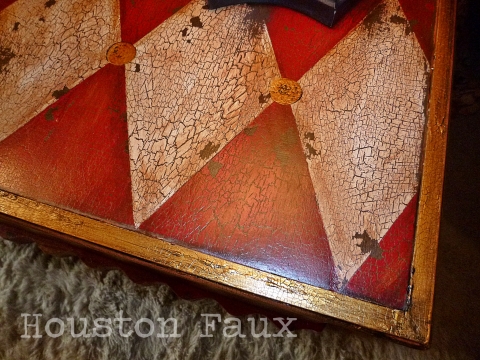
I basecoated it all in Dark Chocolate milkpaint. After that was dry, I measured out the harlequin design. Each harlequin piece I do is custom measured to fit the size of the piece. So after a couple of hours have passed, its time to tape every-other diamond off. Then crackle & GF antique white paint is applied. That process is repeated & then the other diamonds are done in Holiday Red.
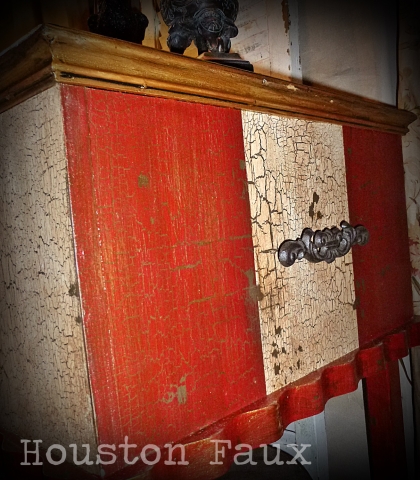
Stripes are measured out... crackle.. paint & alternate colors. When I finished this detail I popped in some gold highlights & then toned it all down with the GF Burnt Umber Glaze effects. To protect the artwork, I topcoated it with GF high performance satin topcoat.
I built it at 3 feet tall so it makes a great serving piece to stand at, a make-shift island, hot-cocoa stand, cocktail or dessert serving, or even something on the patio for entertaining.


