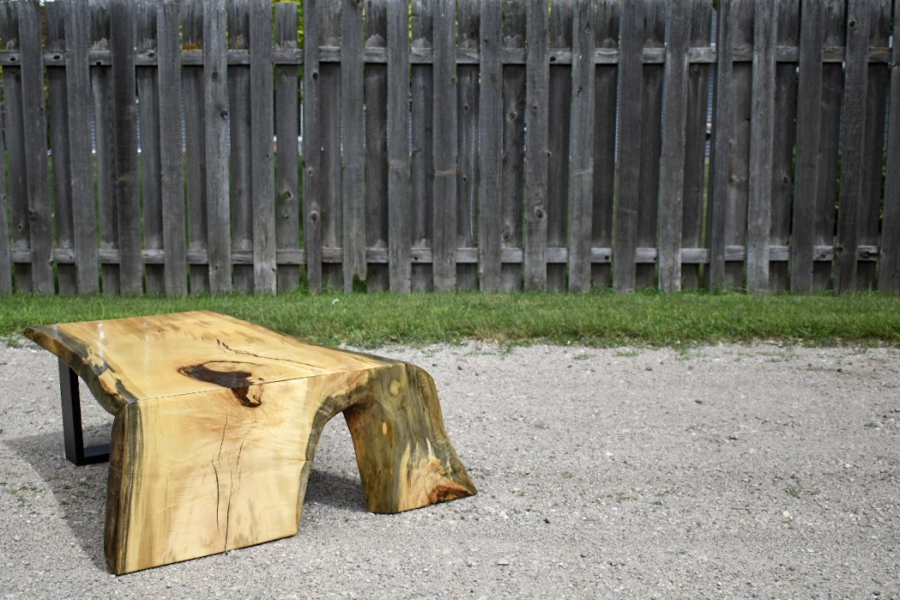
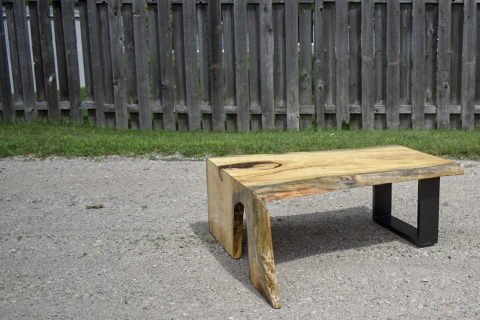
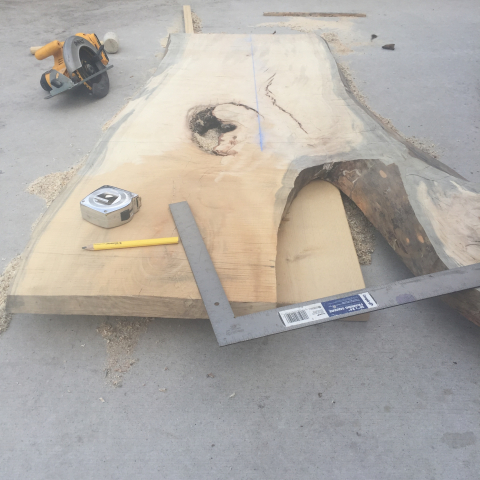
While visiting some friends of mine that running a new sawmill business I spotted a small stack of unique forked maple slabs neatly stacked in a dimly lit corner of their quonset. Wanting to try my hand a waterfall coffee table I knew immediately one of those slabs would be my guinea pig.
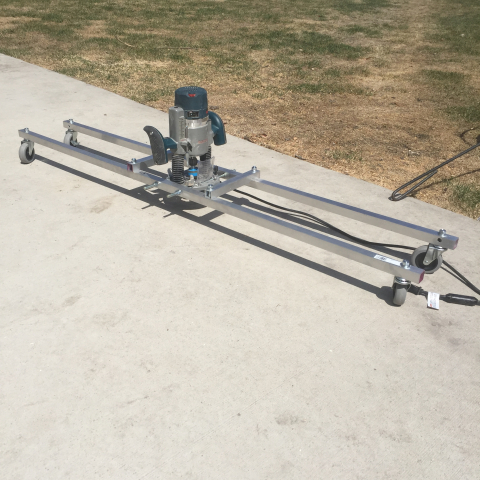
Bringing the slab home I noticed two things, 1. there was a lot of neat color and character that I hadn't noticed while the slabs sat neatly stacked in the quonset and 2. the slab was twisted more than I had expected, so much so that it needed to be flattened before anything was built from it. Since my router setup for flattening slabs only accommodates slabs up to about 34" wide I had to first build a new jig. A quick trip to the local hardware store resulted in a pile of square aluminum tubing that was used to create a mobile flattening sled.
With this sled I was able to get the slab relatively flat. Not to flat though, as I wanted to keep some character and thickness. Now, how am I going to cut the miter? I have a cordless dewalt circular saw but I knew that was not going to be accurate or powerful enough for the job. I have a Festool TS75 tracksaw on my list of needed tools but, I just couldn't bite the bullet at the time. Next up, utilize the 52" capacity on my SawStop and rig up a sled. With some help from my #1 employee, my wonderful wife, we cut the miter fairly well. Now, back to the flattening part. I flattened the topside of the slab pretty closely but in an attempt to save thickness and keep some of the natural elements I left the bottom side somewhat twisted. In the midst of cutting the miter the slab rocked slightly which caused the miter to be arched a little bit. Some quick work with my block plane and we were back in action.
Now to fill the giant hole that was in the slab. I cleaned this out well and masked off the backside with some sheathing tape. Using a combination of Black Diamond Pigments (Mahogany) and Total Boat epoxy I filled the void as well as some cracks level with the surface. Once the epoxy dried and the slab was sanded smooth it was assembly time.
To attached the newly formed leg to the top I used my Festool Domino 500. This was a life saver. I was concerned about getting a true 90° waterfall but the Domino combined with some 90° Rockler clamps and it was a breeze. I was left with a slight gap and the inside of the bend which I filled with the mahogany tinted epoxy before finishing. One the other end I used 5/4 poplar painted with Rustoleum Metallic paint to give it a metal look. This leg was attached with threaded inserts and 1/4" truss head machine screws.
Once assembled and sanded it was time for finishing. For this table I opted to use Waterlox Original. After brushing 4 coats of Waterlox this piece was ready for display and for its new owner to take it home.


