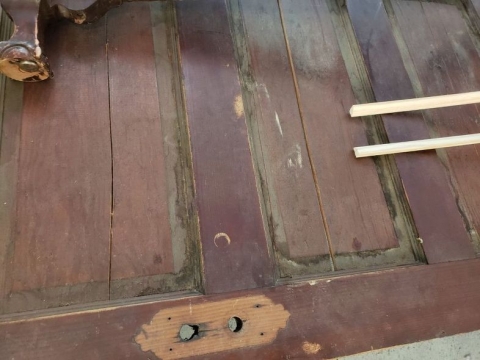
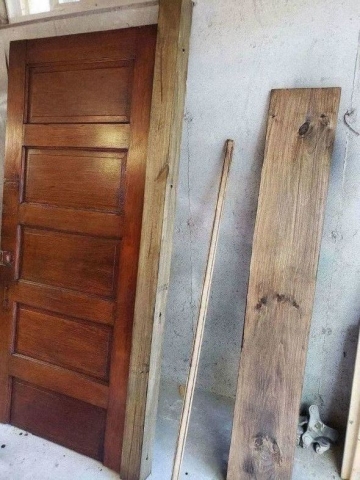
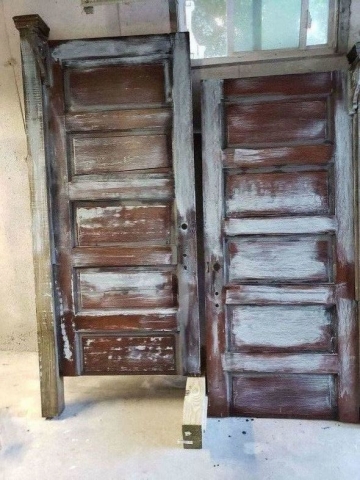
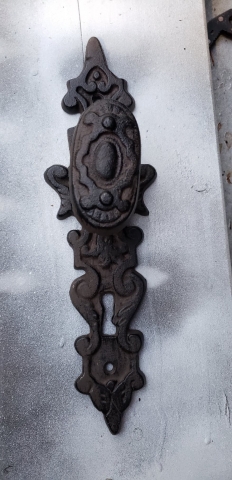
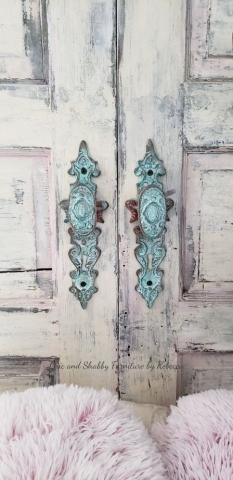
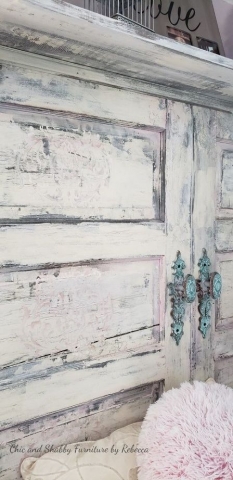
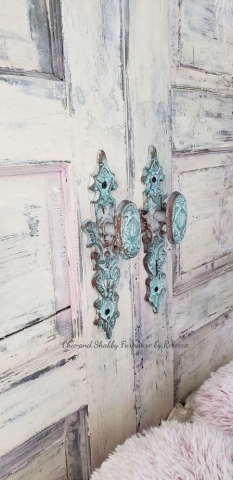
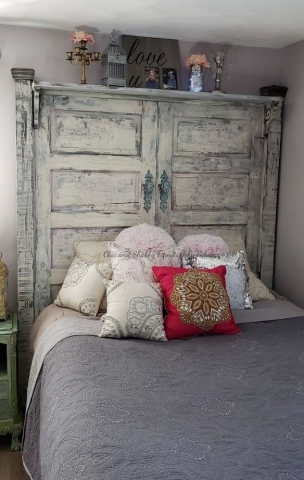
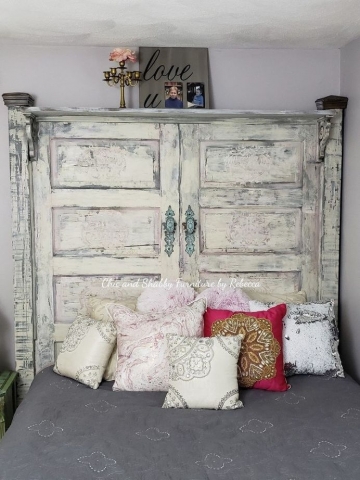
I have a slight obsession with beautiful doors. So I've wanted to make a repurposed, door headboard forever! I finally did it. I knew what I wanted it to look like and was determined to make it! I used 2 vintage doors, scrubbed the heck out of them, then sanded them a bit. First I added paint to the cracks and corners for depth (Skeleton Key and Weahtered Wood). I wanted an authentic looking chippy look so I poured Debi's Design Diary DIY Paint, crinoline, white swan on a scraper and layered them. Then made the raised stencils using wall mudd (added soft touches of pink and metallic to them) and used Iron Orchid Design IOD Flower stamps. For the knobs I added patina paint (from Vintage Tide Decor) to age them.
Fabrication~ I took the 2 doors and connected them using wood braces in the back, attahed the 2 unfinished 4x4's and caps to create the posts, 2 corbels, a shelf then molding to finish the look. Those I started with stain then painted the same way I did the doors. It was a ton of work but FINALLY have my one of a kind "dream" headboard.


