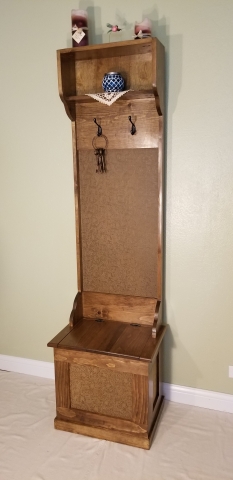
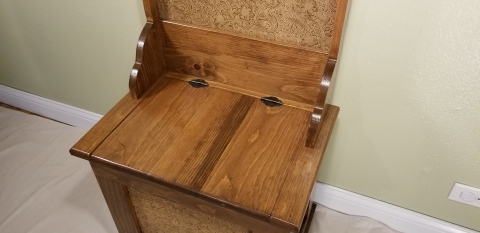
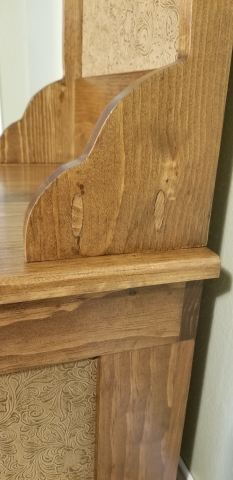
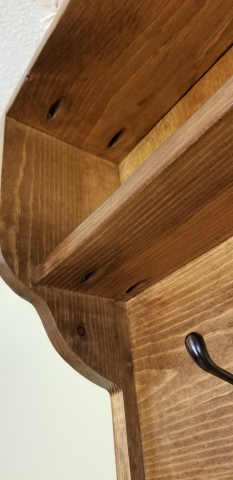
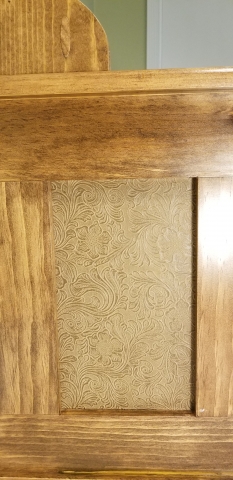
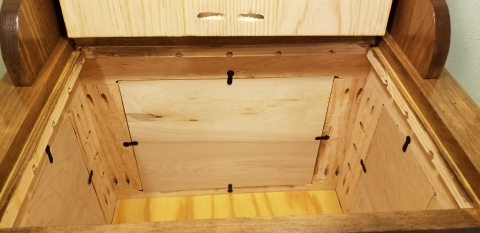
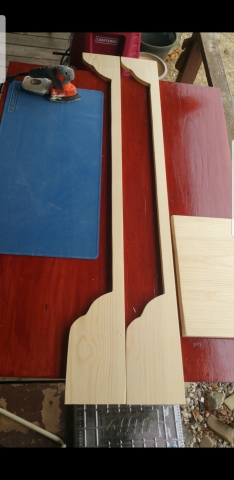
I started this project to have a bench by my front door while trying out my new woodworking skills on a larger project. All I knew at this point was how wide it needed to be. To create a pattern, I drew the bench using measurements of the space where it would sit. Two 1 X 12’s were cut to make the frame. A router was used to make a groove, to allow panels to lay in the middle on each side. The frame is held together with pocket screws using the Kreg jig K4. The top of the bench is 3 boards held together with wood glue and pocket screws to connect the 3 pieces. The bench portion was now assembled and placed in its intended space to calculate measurements for the top. A pattern for the sides was drawn and then cut from 1/4-inch plywood. Using the pattern, the sides were cut with a router. A groove was also cut to allow the inset of back panels. Two pieces for the top were attached to each side piece to create the top of the bench. Pocket screws and plugs were used to attach the top and bottom. The bench frame was assembled and now needed the insertion of panels to fill the sides and back. 1/4" plywood panels were cut and sprayed with adhesive to attach fabric, as seen on the bottom sides and the top back. The bench was sanded, cleaned and conditioned with Minwax Stain wood conditioner before staining with Minwax Stain Special Walnut. (I had not yet discovered GF products.) Three coats of Minwax polyurethane semi-gloss with a coat of Howard Feed-n-Wax were applied. This bench project was completed with installation of the fabric covered panels, using picture frame turn buttons to hold them in place. The project fit perfectly in it’s intended space and is a lovely addition to the entry.
Bench with Coat Hanger
By Carrie Garrison in Cordell, OK.
Project Category
Products Used
- Minwax pre stain wood conditioner
- Minwax stain Special Walnut
- Minwax polyurethane Semi-gloss
- Howard Feed-n-wax


