http://rehabtofab.co/master-bath-transformation-budget
I’ve been wanting to upgrade our master bath since we moved into our home a little over 2 years ago. I was determined to upgrade it on a dime (well just a few dimes) and do all the work. I tackled our kitchen a few months ago and even tho it was A LOT of work, I knew I could do our master bath.
Here’s how the process went…..
First I had to take my shopping buddy, side kick, my shadow with me to my favorite store, Home Depot. We picked up some nearly perfect Tongue and Groove Pine boards for the shiplap walls. CallieAnne had a great time riding along will I pushed the load around the store.
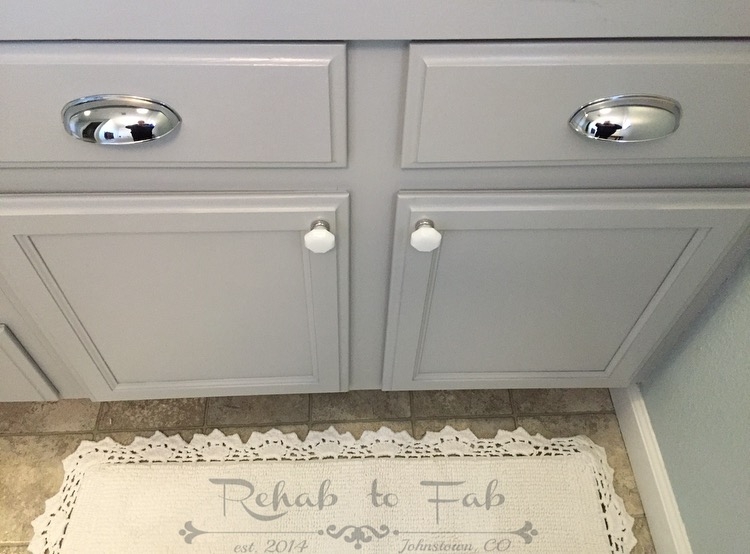
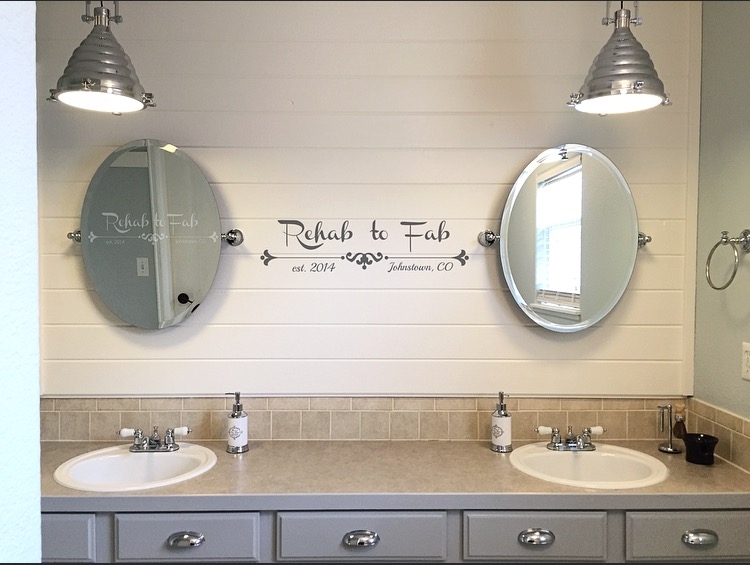
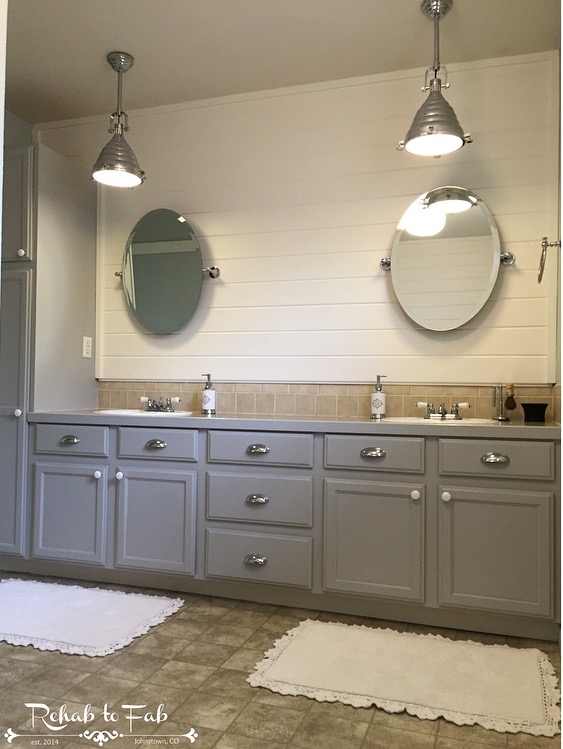
I chose to use Sherwin Williams ‘Sea salt’ on my walls. On the shiplap I used the white we have throughout our house, Sherwin Williams ‘Westhighland White’. On the cabinets I used in General Finishes Milk Paint in’Seagull Gray’. For the hardware I purchased these milk glass knobs and chrome bin pulls from D Lawless Hardware. The light fixtures & new faucets I purchased at Home Depot.
Then the work started. The builder grade oak cabinets are original to the home which was built in 2007. Solid cabinets so there’s no reason to rip them out when I knew I could transform them.
Prep is ESSENTIAL to ANY transformation! I removed all the doors, hardware and hinges. I normally use TSP but was out so I used my 2nd favorite cleaner, ‘Greased Lightning’. You name it, it gets it off! I scrubbed them and used a tooth brush in the corners where nearly a decade worth of gunk was in. I rinsed them off with a mixture of D-Natured alcohol and water. Then let them set in the sun for about an hour to dry.
I then took my Dewalt sander and sanded back the previous finish. As you can see there’s not much shine left. It really didn’t take that much work to get it to this stage. I then cleaned them off with a damp rag and set in the sun again to dry.
This is where the fun begins, General Finishes Milk paint went on so beautiful. I used a Cling On brush (I buy mine through Brass Tacks Tulsa on Etsy. Wonderful customers service and lightning fast shipping) and dipped in water often and painted on the milk paint. The water with the Cling On brush produces the most FLAWLESS finish. It looks like I sprayed them.
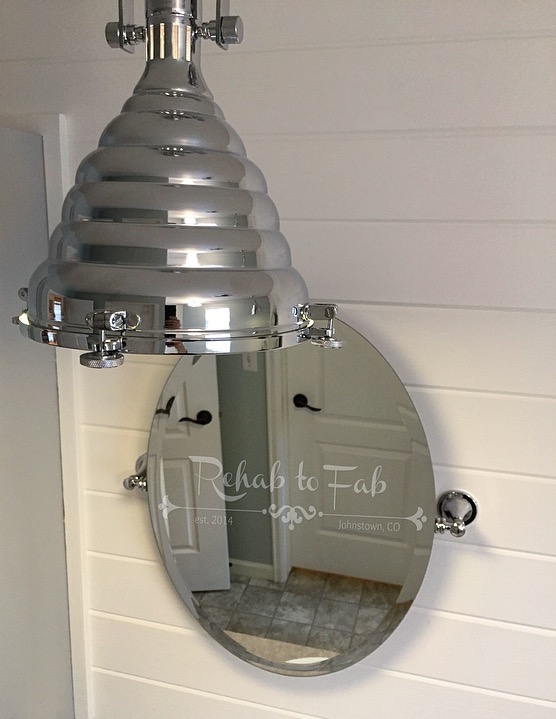
Next up was moving the lights from the vanity wall to the ceiling. I can do a lot and learn to do pretty much anything but sometimes you just have to know when to say “HELP!”. That’s when you call on the experts like my father in law, Earl. Who so graciously came over one Saturday morning and helped Rob and I with the electrical and hanging the lights. 8 hrs later, we have lights!
It is now Monday and I’m on my own to hang the shiplap. NO worries, I am women, hear me roar!
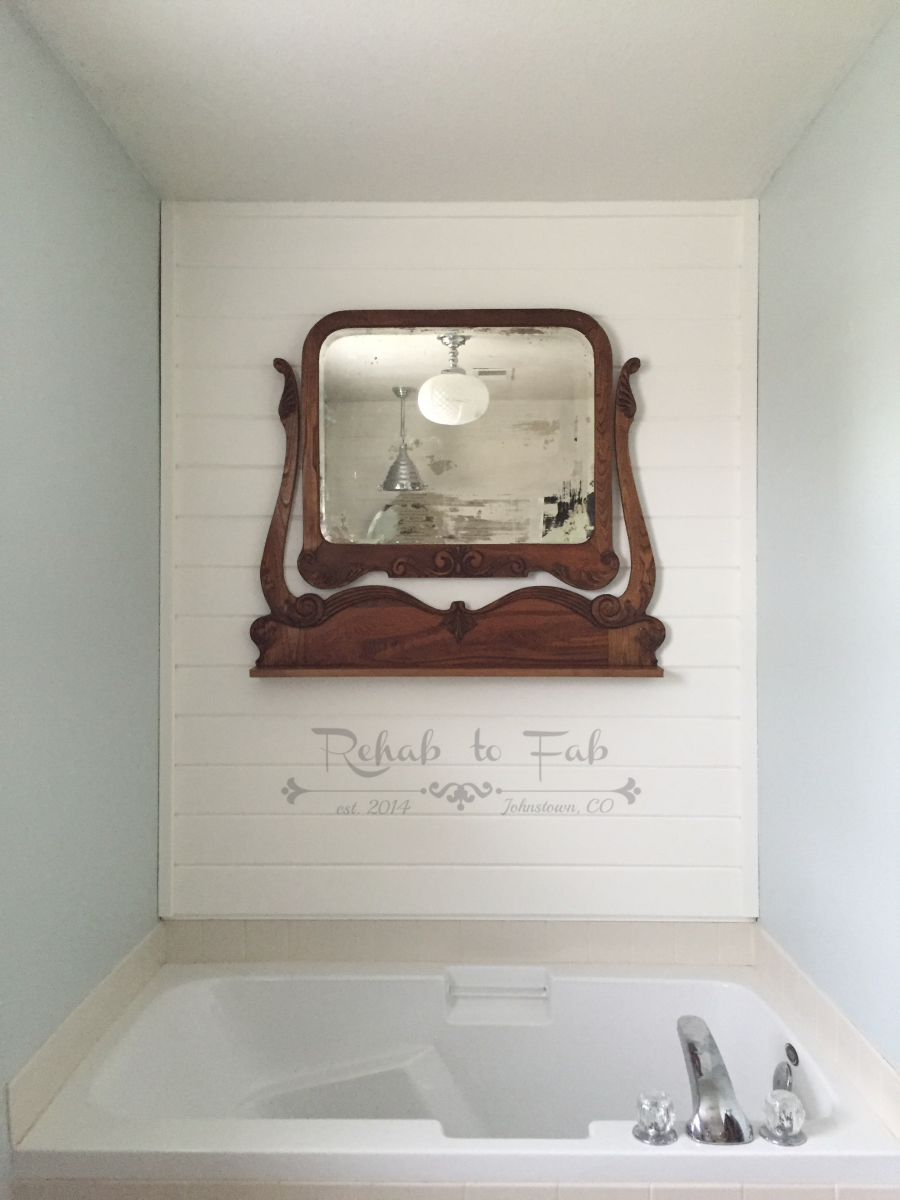
After painting the walls with the beautiful Sea Salt I started in on the ship lap. Measuring twice, cutting once. I had already found the studs and marked them with chalk. I then started nailing up the planks with my nail gun. I then filled the holes with Durham’s Rock Hard water putty. Once set, I sand with a sanding block. I used 1×2 trim to frame out the shiplap to give it a finished look. I then caulked all the seams between the tongue and groove and trim.
Painted the Shiplap with Sherwin Williams Duration paint in ‘Westhighland White’. It’s has Anti-microbial agents that inhibit the growth of mold and mildew on the paint surface.
I absolutely love my new master bath!