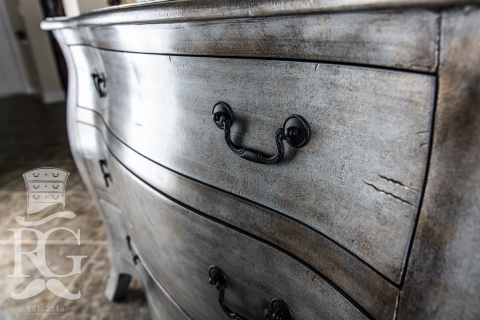
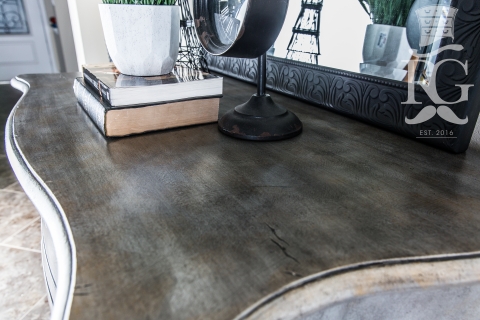
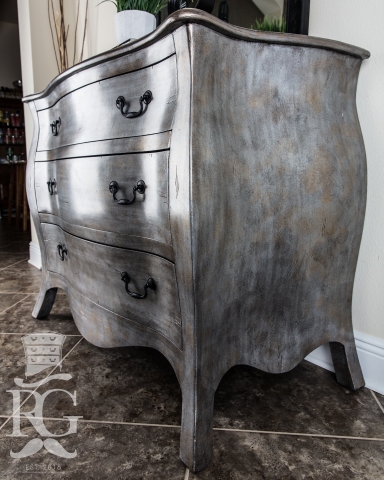
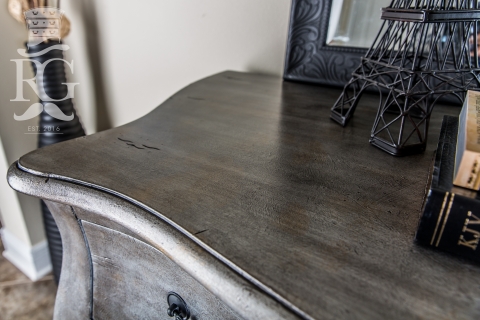
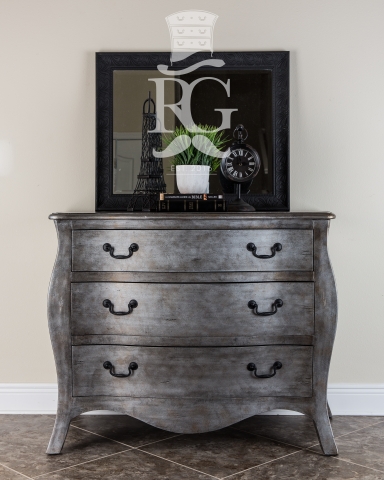
This curvy 3 Drawer Bombay Chest has been hand painted in layers of General Finishes Milk Paint, Pearl Effects, Glaze Effects and High Performance Top Coat to create a finish I call "Knights Armor".
My initial inspiration for this particular finish came from a "Get The Look" sample in the GF Design Center. Most of the finishes I create, start in my head when I see something that inspires me, then I take that inspiration and go with it. That particular finish changed into something different after playing video games with my daughter. We had recently purchased Zelda and I was teaching her how to play. For those that don't know, this game has a kind of knight, that saves the princess and conquers the bad guy. Although my daughter sometimes thought it should have been the other way around : ) The more we played the more I saw this finish popping into my head, something like the knights armor, shield, and sword he weilded fighting off the bad guys in the game. Something worn, maybe a lttle scratched up and showing of age, whether from a rusted look or simply darkening from age. So from that I went out and bought all of what I thought I'd need to make this finish happen. Then I needed the piece... And we all know, finding the right piece is never easy, espeically when you already have a unique idea in mind. Thankfully I came across this curved beauty and knew it was just the piece to create this finish on.
I started the finish with a base coat, something dark, but not too dark as I knew I'd be using Pitch Black Glaze Effects at the very end, and didn't want the two to blend, but be complimentary layers. So I decided on Queenstown Gray first, painting two coats to ensure complete coverage. Before going onto the next step I decided to give the Queenstwon one coat of High Performance Top Coat (Flat) to seal what I'd done. Next was the step that laid the foundation for everything after and gave the worn, textured look. I painted on a full layer of Argentine Pearl Effects and before the paint dried, I stippled and scratched the texture in and through the layer of Argentine. This allowed the Queenstown to peek through in all the stippled/scratched spots and turned this originally flat piece into something with unique characteristics. Next I added another coat of High Perfomrnace Top Coat. This again sealed what I'd down below and also makes it easier to move around the next two layers of Pearl Effects. The next two layers I did separatley, but using the same technique. Using both Bronze and Tawny Pearl Effects, mixed with a little Extender, I gently applied an additive stipple in areas randomly throughout the piece, blending them slightly. After getting the rusted look over the now worn/textured base, it needed a little aging. After another coat of High Performance Top Coat I sponge brushed on a layer of Pitch Black Glaze Effects mixed with Extender. The Pitch Black Glaze Effects was mixed with Extender to lenghten drying time so I could wipe off and leave only what aged effect I was going for. That last step finalzed this finish and what I'd seen in my head, playing Zelda with my daughter. I'd always known the name of the finish, which isn't always the case for me, but for this one I knew the color, the texture and the aging all really lended itself to a "Knights Armor".


